Setup on Linux
Follow this guide to enable Network Acess Control on Linux. The screenshots are from an Ubuntu 24.04 installation. Adapt the settings for your Linux distribution.
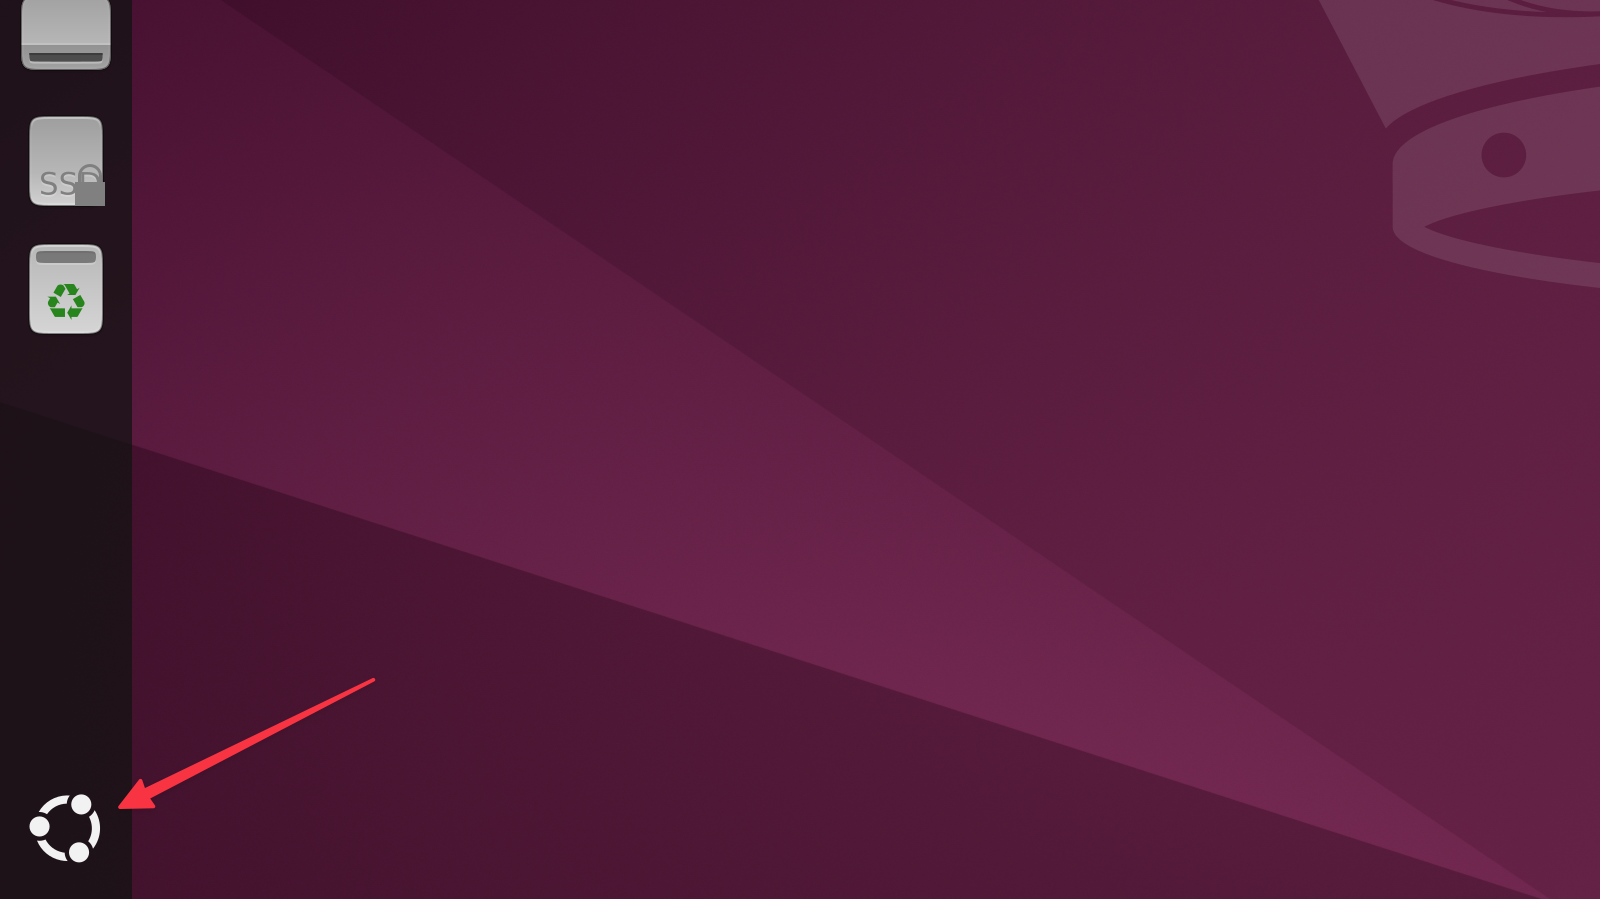
- Click on the Ubuntu Logo on the lower left corner to open a launcher search dialog
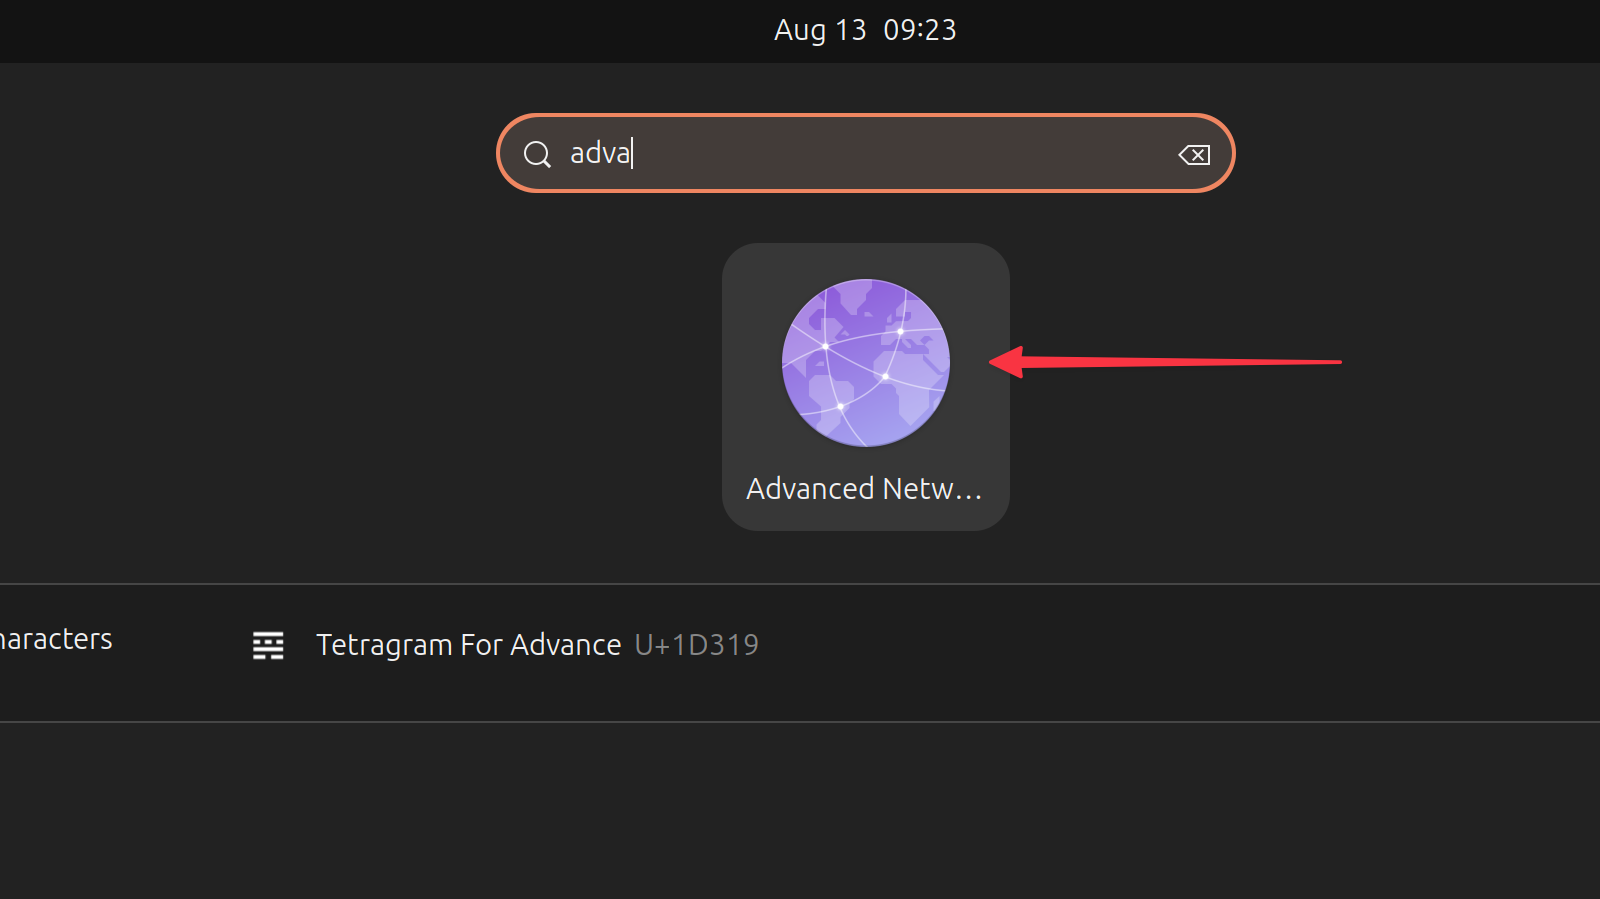
- Search for the Advanced Network Configuration tool
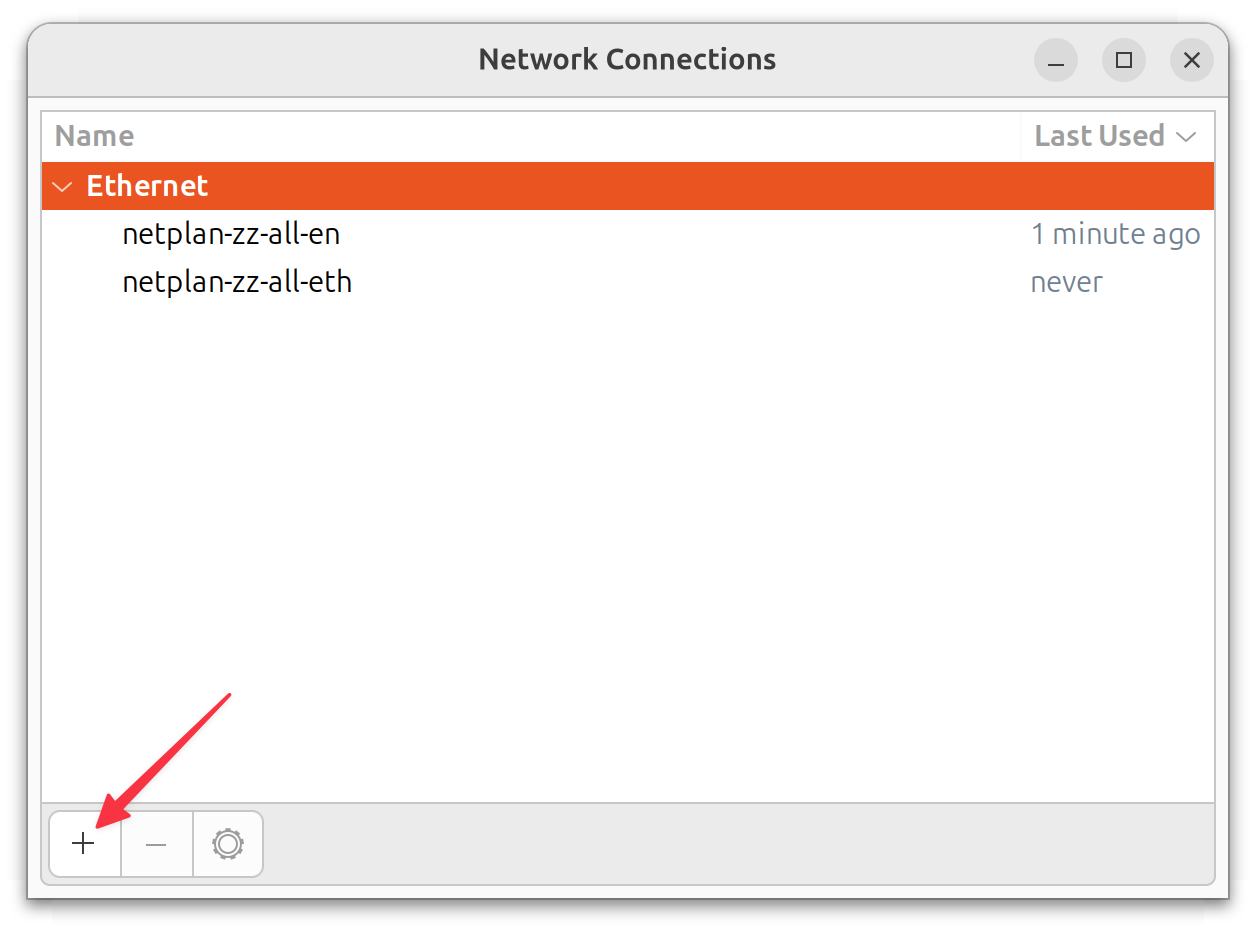
- Click on the
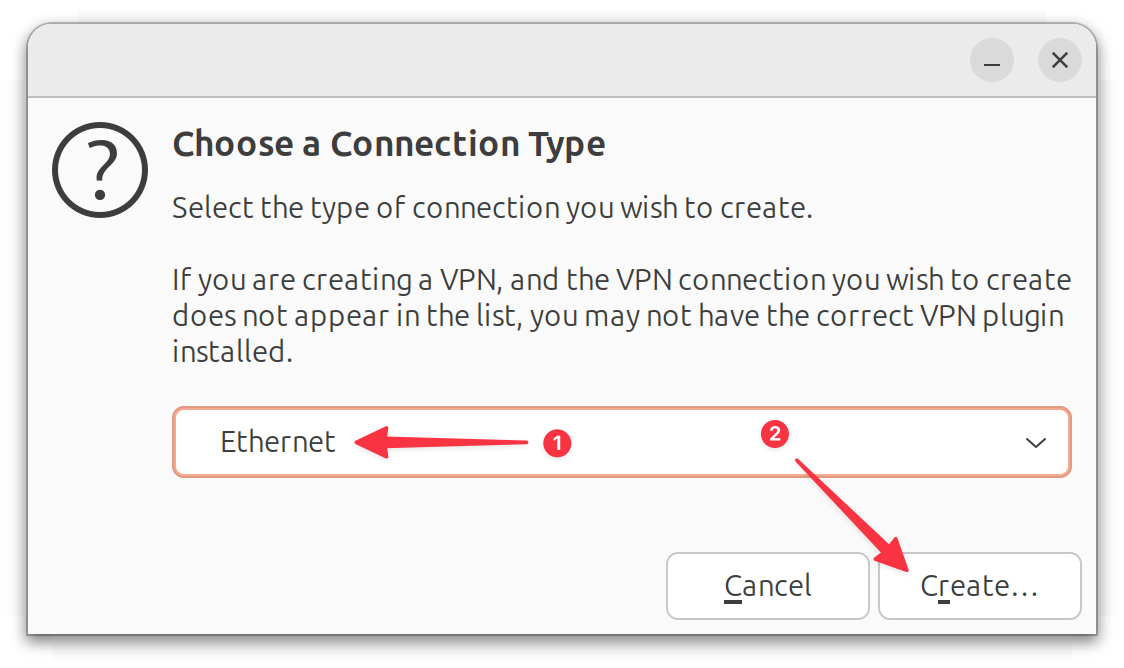
+sign to add a new connection - Select Ethernet [1] from the drop down menu and click Create… [2]
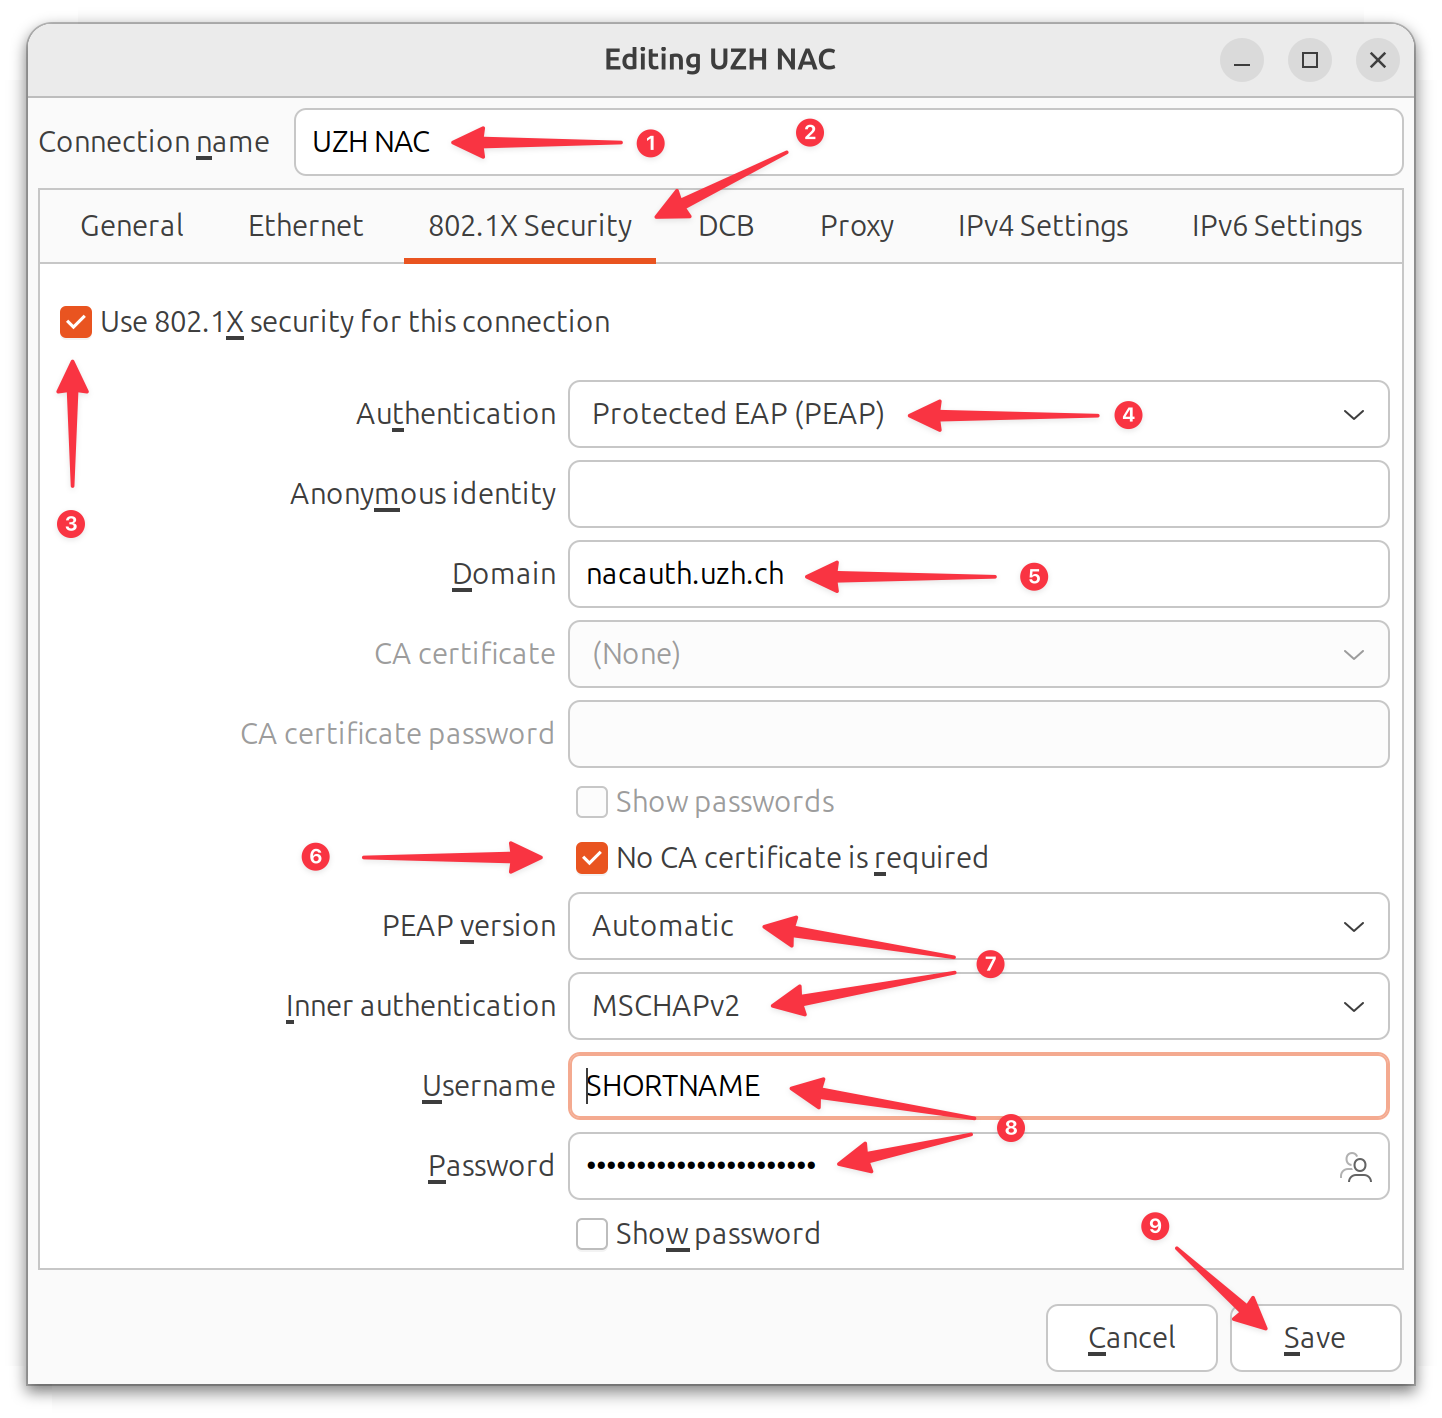
- Name the connection [1], switch to the 802.1X Security tab [2], enable 802.1X [3], select Protected EAP (PEAP) [4] from the authentication menu, set the domain to
nacauth.uzh.ch[5], do not require a certificate [6], configure authentication settings to Automatic/MSCHAPv2 [7] and provide your UZH shortname and password [8]
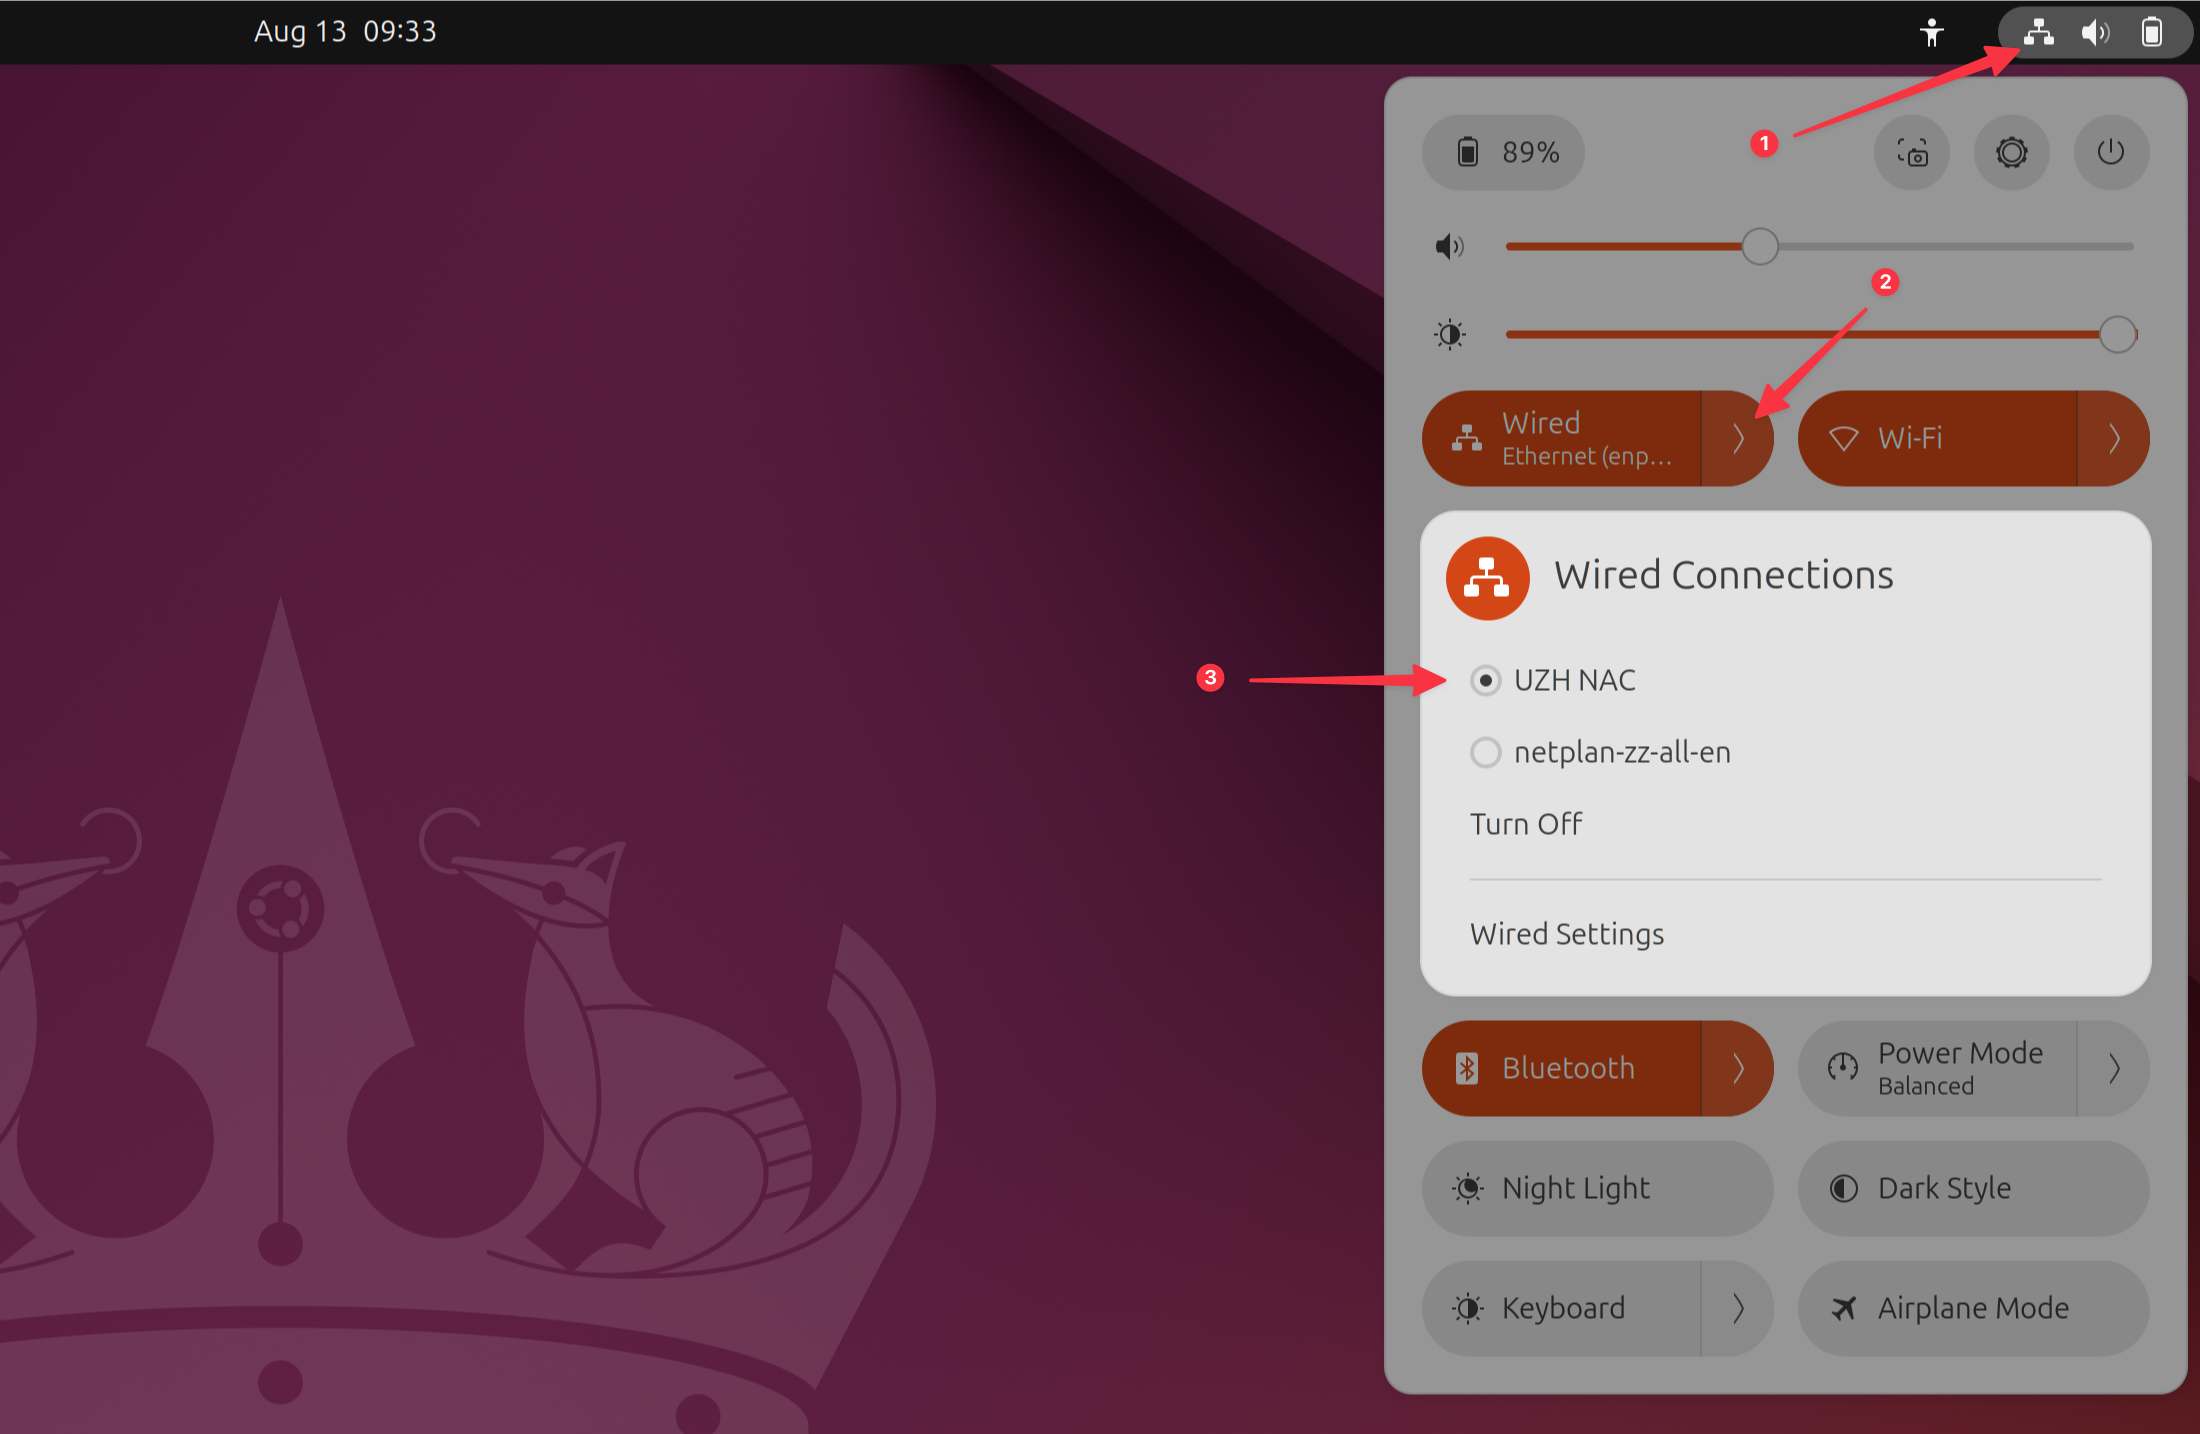
Click Save when finished [9] - Click on the top right to open the settings panel [1] then open the sub menu of the wired connections by clicking on the arrow [2] and select the connection you configured before [3] to activate it.